home gym safety: what safe solo training looks like
Most people assume a tidy room and good shoes are enough—yet the single biggest difference between a risky solo session and a safe one is planning. Home gym safety means you can complete a full workout alone with low risk: clear floor, fail-safe equipment choices, simple emergency steps, and a program you can stop and restart without help.
Start with the environment: clear, level, well-lit and ventilated
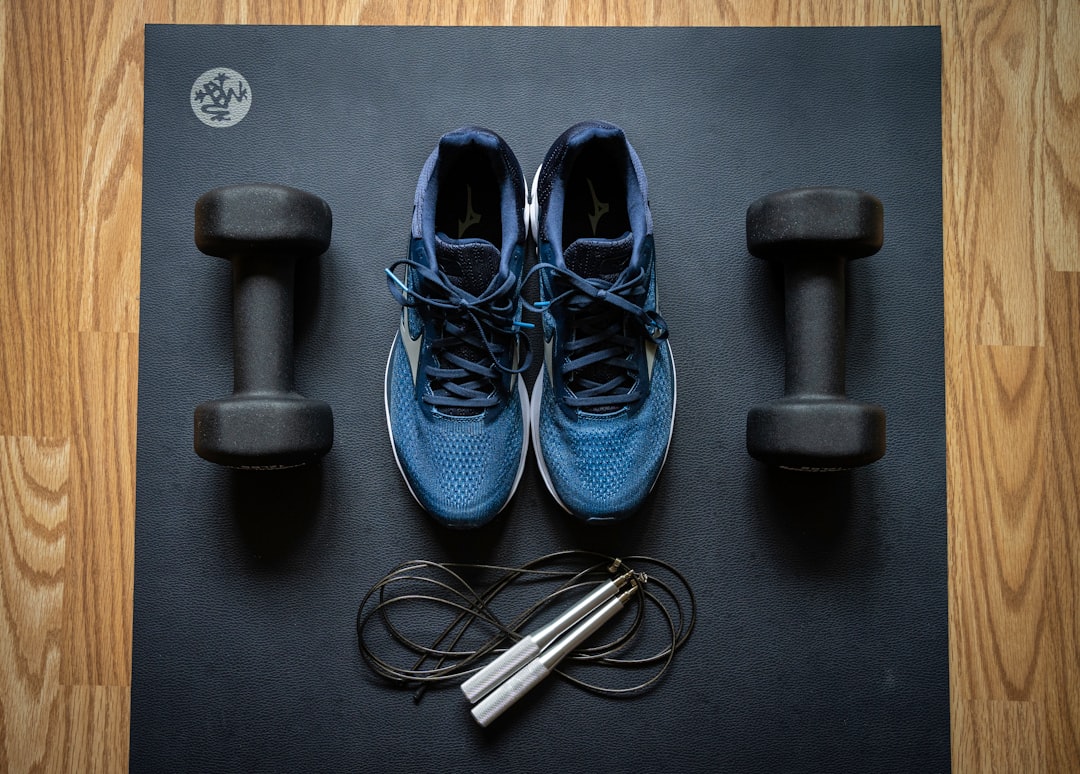
Before you touch weights, make the space reliably safe. Remove trip hazards (loose cables, clutter), pick level ground, and confirm lighting that leaves no deep shadows around equipment. Keep one exit path clear and a charged phone within arm’s reach.
- Measure ceiling height and door clearance for overhead movements.
- Mark the workout footprint for each exercise so you don’t catch toes or shins on edges.
- Place a water bottle and towel within reach; dehydration and slippery grips increase risk. Consider this site’s water bottle selection for an insulated option: Gym Water Bottles.
Protect the floor and equipment: why surface matters and what to use
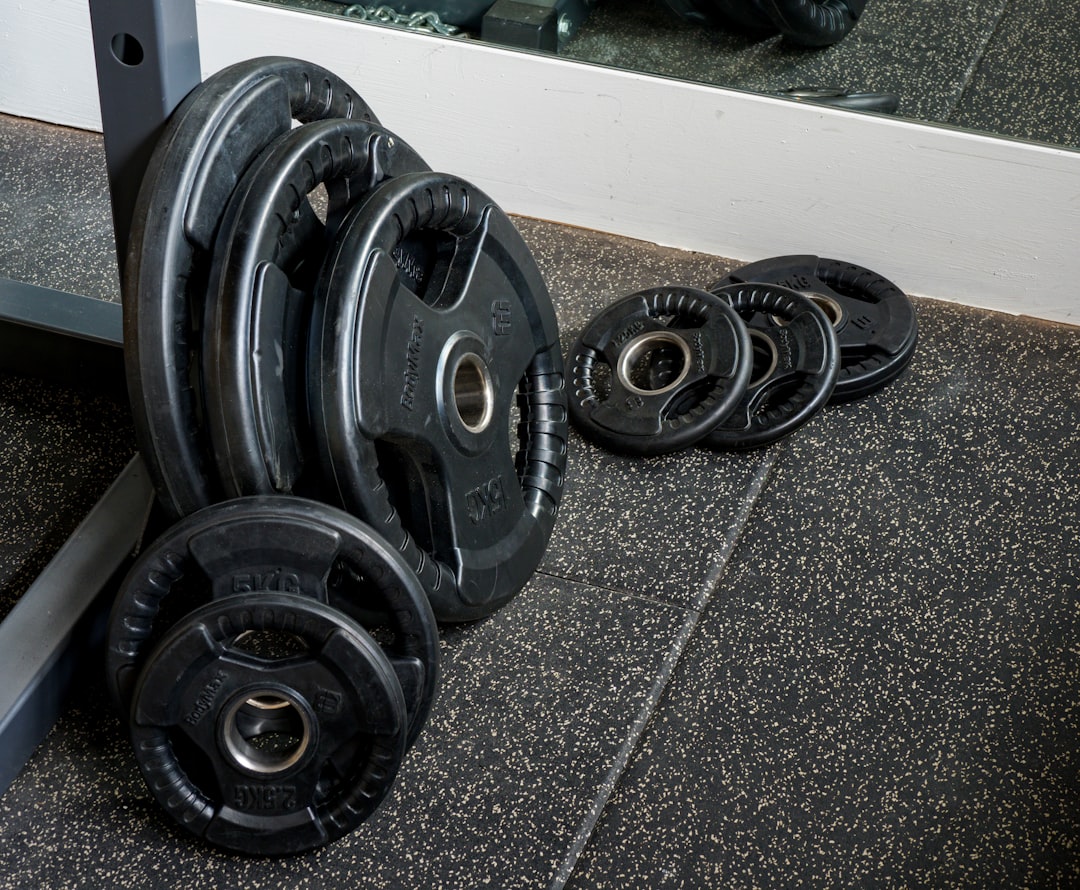
A resilient, consistent surface prevents slips, cushions dropped loads, and protects both barbell sleeves and the subfloor. For most solo trainers, interlocking foam or rubber mats are the simplest upgrade.
If you use barbells or kettlebells, opt for thicker rubber tiles or a small lifting platform. For bodyweight, yoga and band work, EVA interlocking mats are fine. Keep a 2–3 foot unobstructed perimeter around heavy lifts so you can bail safely if necessary. More floor options are available at our interlocking gym floor mats category.
Choose equipment that reduces single-person risk
When training alone, the equipment you pick changes what’s safe. If you plan to lift heavy, a power rack with adjustable safety pins or safety straps is the most important buy—it gives you somewhere for the bar to land if you fail. For pressing from a bench, a rack-based bench inside the rack is safer than a standalone bench.
Alternatives and lower-risk choices:
- Resistance bands and kettlebells for progressive loading without heavy maximal lifts.
- Dumbbells instead of a barbell for certain moves—easier to drop safely to the side.
- Machines (if available) that have built-in stops.
Small but essential hardware: collars, anchors and fasteners
Locking collars on bars, securely anchored band points, and well-tensioned mounting hardware cut failure modes. Check collars and anchor bolts weekly; loose collars let plates slide and rapidly change load balance.
Plan your program around what you can safely finish alone
Design sessions so the heaviest or most technical work is done early when you’re fresh and less likely to push to a dangerous failure. Use conservative RPE (rate of perceived exertion) targets—leave at least one rep “in the tank” for compound lifts unless you have a safety rack.
- When training for strength, use safety pins set just below your lowest rep position so you can lower the bar safely.
- For hypertrophy, prefer moderate loads and higher reps with strict form—less chance of catastrophic failure.
- Use a spotter alternative: perform the final hard sets with a lighter load and finish with heavy singles inside the rack against safeties.
Spotter alternatives and fail-safes for common lifts
If you can’t have a human spotter, use equipment and technique to reduce risk:
- Squats and bench presses: do them inside a power rack with pins set to catch the bar at about sticking point height.
- Deadlifts: avoid going to a true technical failure; try RPE 9 rather than 10 and use lifting straps or chalk for grip security.
- Pull-ups: use a band for assistance rather than performing negatives to failure if you’re alone.
Emergency planning and communication
Every solo session should assume an emergency plan. Put a phone on airplane mode except for emergency calls, but keep it within reach. Decide ahead of time who you’d call and what you’ll say (location, nature of injury). If you train in a detached garage or basement, tell someone your approximate workout window.
Consider wearable medical ID for known conditions and learn basic first aid and how to stop serious bleeding—these are simple, high-impact skills.
Technique, warm-up and progressive overload strategies that are safer alone
Spend extra time warming up movement patterns and progressively load across weeks instead of chasing big jumps in a single session. Use slow, controlled eccentric phases rather than aggressive momentum-based reps, which are harder to stop if something goes wrong.
Maintenance and pre-session checks
Before every session, run a 60–90 second equipment checklist: collar tightness, pin placement, mat alignment, anchor bolts, and clear floor space. Monthly, inspect straps, bands and bolts for wear and replace at the first sign of fraying.
Troubleshooting common solo-training problems
- Grip fails mid-set: switch to mixed grip or straps, and reduce load next session while you build grip strength.
- Unexpected dizziness: stop, sit down, hydrate; if repeated, consult a clinician before resuming heavy work.
- Bar gets stuck on chest or pins: tilt the bar slightly toward the pins and step back to let it rest on the rack; never attempt high-risk maneuvers under load.
- Clear a 2–3 foot perimeter around heavy lifts and exits
- Set and test safety pins or straps at correct heights
- Confirm collars/anchors are tight and mats are flat
- Place phone and water within reach and tell someone your workout window
- Warm up movement patterns progressively and avoid 100% failures
Solo training can be safe if you prioritize environment, choose equipment that enables failsafe stops, follow conservative programming and have a clear emergency plan. Invest in one key safety item first (safety-equipped rack or good flooring) and build habits that prevent avoidable risks.
Do I need a spotter for bench press at home?
You can bench safely alone if you use a rack with safety pins set just below your working range, or perform lighter sets that leave a rep or two in reserve instead of true failure.
Are resistance bands a safe alternative for solo training?
Yes—bands allow progressive loading with low failure risk and are especially useful for assistance on pull-ups, accessory work, and joint-friendly loading.
How should I set safety pins in a power rack?
Set pins at or slightly below the lowest point of your working range so the bar can rest on them without trapping you in an awkward position.
What should I keep handy in case of an emergency?
Keep a charged phone, basic first-aid kit, and a plan for who to call. If you have a known medical condition, wear medical ID and inform a contact of your location.
Are interlocking mats worth the investment?
Yes—mats protect the floor, reduce noise and give you predictable traction and cushioning, which reduces slips and equipment damage.