Quick clarification before you start
A common misconception is that foam rolling is simply “scrubbing out” tight spots; in reality, learning how to foam roll is about controlled pressure and timing. If you want faster mobility and less soreness, the goal is to modulate pressure, target the right areas, and select the right roller—not to grind painful spots until they disappear.
How to foam roll: a simple, actionable technique
- Position — Place the roller under the target muscle (e.g., calves, quads, IT band, glutes) and use your hands/feet to support bodyweight so you can control pressure.
- Apply gentle pressure — Start with light pressure and slowly shift weight onto the roller. Aim for a 3–7/10 discomfort scale (mild to moderate), not sharp pain.
- Roll slowly — Move 1–2 inches per second along the muscle belly; pause and breathe on particularly tender spots for 20–30 seconds, then continue rolling past them.
- Limit time per area — Spend about 60–90 seconds per muscle group the first time; you can extend to 2–3 minutes on large or very tense areas if tolerated.
- Finish with movement — Follow rolling with a few reps of the movement that uses that muscle (squat, lunge, calf raise) to reinforce the new range of motion.
This sequence prioritizes control and usable results. How you apply it changes based on purpose (warm-up vs recovery), which the next sections cover.
When to use a foam roller: warm-up, recovery, or both?
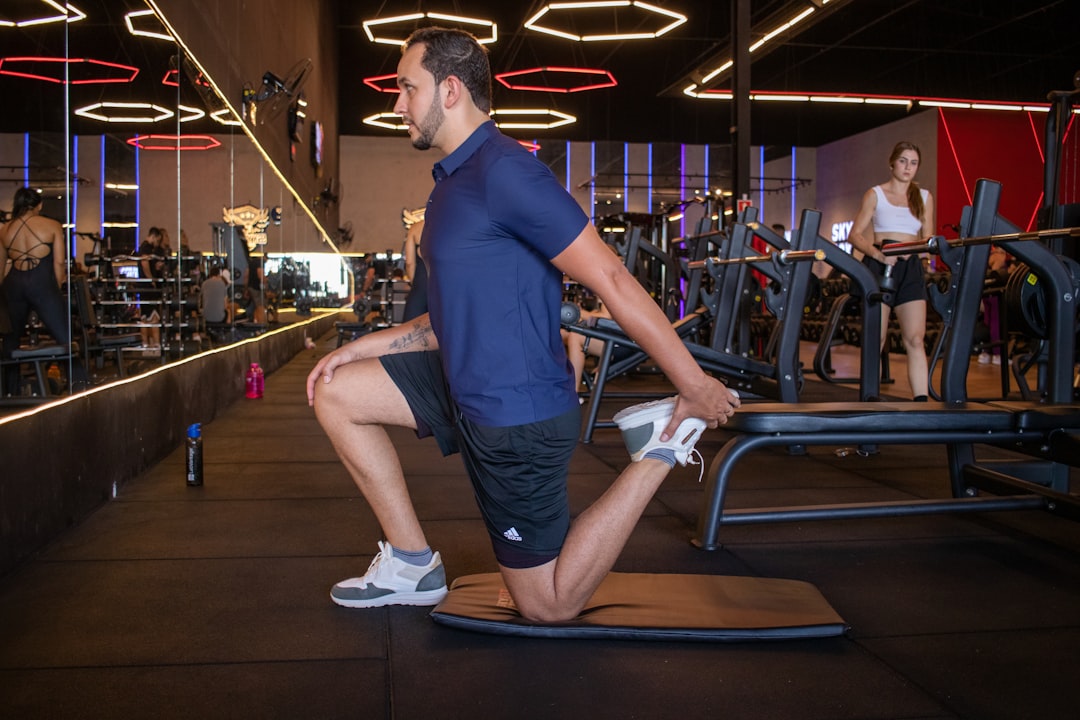
Use a foam roller before a workout to prime tissue and improve short-term range of motion: roll quickly (30–60 seconds per area) and follow with dynamic warm-up. Use it after training to reduce soreness and promote tissue relaxation: roll more slowly and linger on tight spots for up to 2–3 minutes.
How long and how often should you foam roll?
For general mobility: 3–5 times per week, 1–5 minutes per major muscle group. After heavy training or long runs, add an extra 5–10 minutes focused on especially tight areas. Avoid daily deep aggressive rolling on the same spot; tissues need time to adapt.
Pressure, discomfort and safety: what to watch for
Discomfort is normal; sharp, shooting pain or numbness is not. If you get pins-and-needles, stop and change angle or avoid that spot. People with recent fractures, severe osteoporosis, acute inflammation, or deep vein thrombosis should avoid foam rolling unless cleared by a clinician.
Choosing the right roller
Density and texture change the effect: soft, low-density rollers are forgiving and good for beginners; medium-density handles most needs; high-density or textured rollers (like a RumbleRoller) provide deeper pressure and are useful for chronically tight tissue.
If you want a single versatile option that gives deeper work and holds up to frequent use, consider a textured firm roller as an investment. For vibration, a powered roller speeds warm-up and can reduce time spent on each area, but it’s not required.
For a broader selection, see the site’s Foam Rollers category.
Common target areas and small technique notes
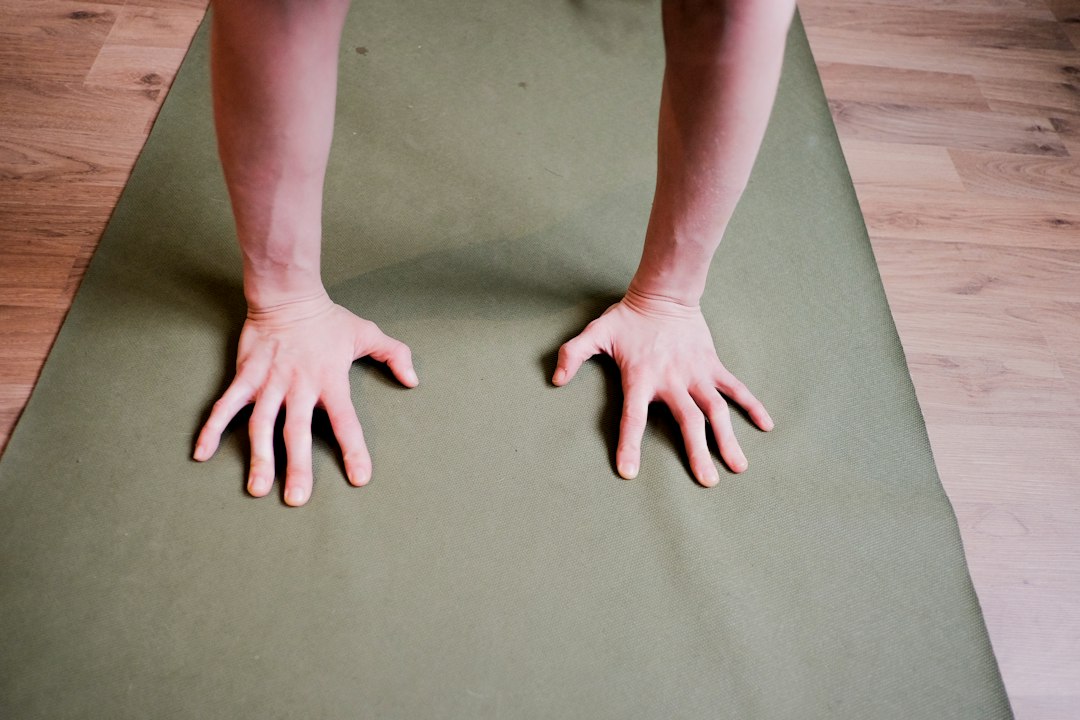
- Calves: Keep hips raised and roll from ankle to just below the knee; point/ flex the foot to change the sensation.
- Quads: Roll from hip crease to just above the knee; use forearms to control pressure.
- Hamstrings: Sit on the roller and roll from glutes to behind the knee; bend the supporting leg to reduce intensity.
- Glutes/IT band: Use body rotation and a lacrosse ball for very tight trigger points; avoid rolling directly over bony hips.
When NOT to foam roll and next steps
Skip rolling over swollen joints, open wounds, or acute injuries. If a muscle remains intensely painful despite gentle rolling and rest, get a professional assessment. Foam rolling complements mobility work, but it won’t replace strength training or targeted rehab exercises.
Quick routine examples (1–3 minutes per area)
- Pre-run: calves (30s), quads (30s), glutes (30s), dynamic leg swings.
- Post-weights: slow quads (90s), hamstrings (60s), thoracic spine roll (60s), then mobility drills.
- Start with light pressure and increase only if tolerable.
- Roll slowly and include a movement after rolling.
- Limit deep work to 2–3 minutes per problem area.
- Avoid rolling over joints, fractures, or acute inflammation.
- Match roller density to your tolerance and goals.
Foam rolling helps mobility and recovery when used with controlled pressure, sensible timing (short before workouts, deeper after), and follow-up movement. Choose a roller density that fits your tolerance and