That quick morning stretch that becomes a full workout when you’re short on time
You’re juggling a commute, a packed day and a small apartment — but you still want a quick, effective strength session. Resistance band training fits that exact gap: it’s compact, low-cost and scales easily as you get stronger. This guide explains how to start safely, which bands to buy, five foundational exercises with progressions, and a short routine you can use today.
Resistance band training: what beginners need to know
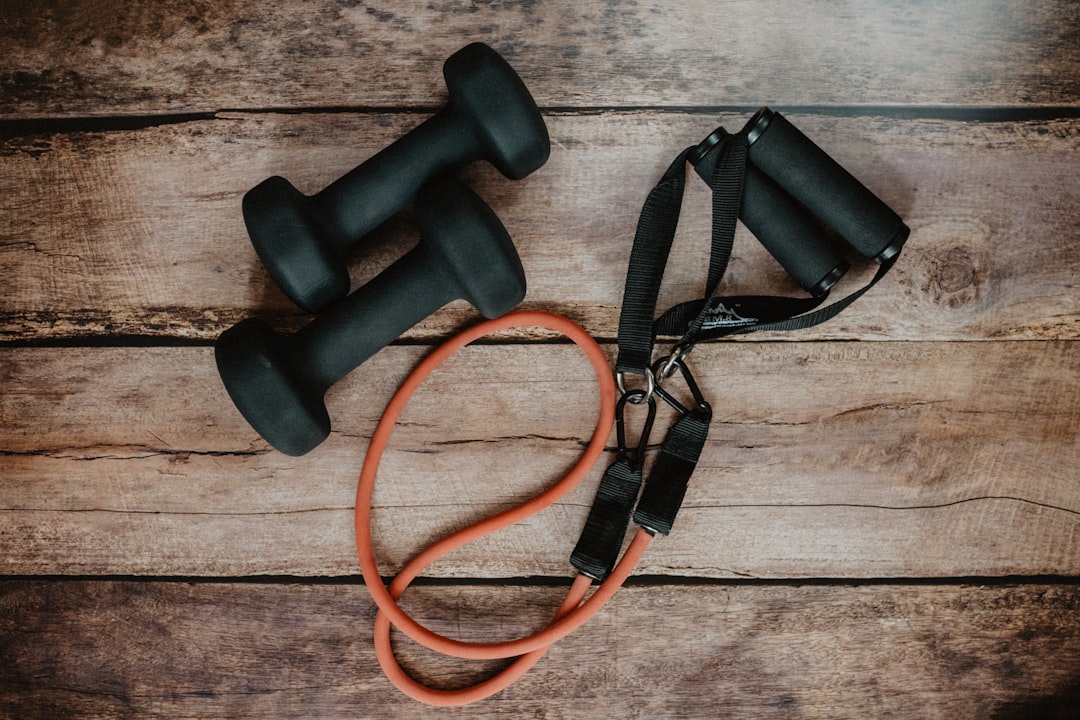
At its simplest, resistance band training replaces weights with elastic tension. Bands come in loop (flat or circular), tube bands with handles, and long flat Pilates-style bands. They offer variable resistance—the more you stretch a band, the harder the movement gets—so the same band can feel different for rows versus squats.
Most beginners want to know three things first: which bands to buy, how to set them up safely, and a small set of go-to moves that cover the whole body. Below you’ll find practical answers and a ready-to-use 20-minute workout.
How to choose your first bands and accessories
Start with a small selection rather than one single band. A practical beginner kit includes:
- One light, one medium and one heavy band (or a 3–5 level set). Different tensions let you use an appropriate load for different exercises.
- A door anchor or a sturdy carabiner for poles or beams—this gives you horizontal pulling angles for rows and presses.
- Handles for comfort on standing exercises and a loop band for lower‑body work (glute bridges, banded squats).
If you prefer a single purchase to get started, consider a 3–5 level set that includes a door anchor and handles. A starter option that matches this need is available below.
Five core resistance band exercises and easy progressions
Learn these movements first—together they hit major muscle groups and teach safe band mechanics.
- Banded Squat — Stand on a loop band shoulder-width, hold band at shoulders or use a long band under feet and at shoulders. Progress by using heavier band or slowing tempo to increase time under tension.
- Standing Row (anchored) — Attach band at chest height, step back, pull elbows past torso. Progress by widening stance, stepping further back, or using a stronger band.
- Chest Press (anchored) — Anchor behind you at chest height, press forward like a bench press. To progress, increase band tension or do single-arm presses.
- Glute Bridge with Loop Band — Place loop band above knees, feet hip-width, bridge hips up while pressing knees out. Progress with a heavier loop or single-leg bridge.
- Overhead Press — Stand on band, press handles overhead. Progress by using heavier resistance or partial reps for strict strength work.
How to choose reps and sets
For beginners aim for 2–3 sets of 8–15 reps depending on the exercise and band tension. If you can do 20+ reps easily, increase resistance; if you can’t reach 8, lighten the band or shorten range until form improves.
20-minute full-body beginner routine
Perform the circuit below 2–3 times with 60 seconds rest between rounds. Adjust reps so the last 2 reps of each set feel challenging but controlled.
- 12 Banded Squats
- 10 Standing Rows (each rep controlled)
- 12 Glute Bridges with Loop Band
- 8–10 Chest Press (each side if single-arm)
- 10 Overhead Press
- 30–45 seconds Plank or Pallof press (anti-rotation)

Safety, common mistakes and when to ease up
Check bands for nicks or thinning before each use; replace any with visible wear. Always control both the concentric (push/pull) and eccentric (return) phases—letting a band snap back is an easy way to lose form or get pinched. Anchor points must be solid: a door can work but an exposed beam, rack or dedicated anchor is safer long-term.
Ease up if a movement causes sharp joint pain, lightheadedness, or if you notice persistent snapping or slipping of the anchor. For post‑injury training or chronic conditions, consult a qualified clinician before progressing beyond gentle sessions.
Where resistance band training fits in your overall plan
Bands are excellent for building movement quality, improving mobility, adding load to bodyweight movements, and for travel. They’re less precise for constant-load lifting compared with free weights, so if your goal is maximal strength (heavy compound lifts), consider combining bands with dumbbells or a barbell over time. For many beginners, bands provide a low‑cost, low‑impact path to consistent strength gains.
If you want a wider view of basic home strength training equipment and how bands compare with dumbbells, see our Beginner’s Guide to Strength Training at Home.
Beginner’s Guide to Strength Training at Home
Finish your session and plan your progression
Log the bands and reps you used so you can increase tension or reps every 1–3 weeks. Small, measurable changes—more reps, a heavier band, or an extra round—are the simplest way to get stronger without overdoing it.
- Inspect bands for damage and test anchors lightly before sets.
- Choose one light, one medium and one heavy band (or a 3–5 level set).
- Learn and warm up with the five core exercises listed above.
- Start with 2 rounds of the 20‑minute routine; increase gradually.
- Use a door anchor or dedicated anchor point—avoid thin doors or loose knobs.
Resistance band training gives beginners a flexible, low‑space option to build strength and movement control. Start with a small, multi-level kit, learn five core exercises, use the 20‑minute routine, and progress by increasing tension or reps over weeks.
Can resistance bands build real strength?
Yes. Bands create meaningful muscle overload and improve movement patterns. For maximal strength goals, combine bands with heavier free weights over time.
How often should a beginner use bands?
Two to four short sessions per week is effective. Allow at least one rest day between full-body sessions when starting out.